
I've been sewing a few quilt blocks lately (see this post & this post ). I know that not everyone has a lot of experience in quilt block assembly. So, for all the beginners (or those who just want to brush up on the basics) I've decided to do a VERY basic tutorial on quilt block assembly.
Which brings us to the Nine Patch Block. Simple, yet effective. 3 squares per row. 3 rows. A total of nine squares. Yet, we will find (in a later post) that this basic construction is the building blocks to MANY different blocks. The finished size of this block will be 9-1/2 inches.
For now though, let's get started.
You'll need....100% cotton (pre-washed)fabric. One light colored & one dark colored.

I'll be using the rotary cutter method of cutting fabrics. If you don't have a rotary cutter, ruler, or mat, you can certainly still cut the squares by measuring and cutting with scissors. Believe me, at some point you will probably want to invest in the equipment!
Begin by layering your fabrics (one on top of the other) on your cutting mat. Square up one side by cutting the edge off.

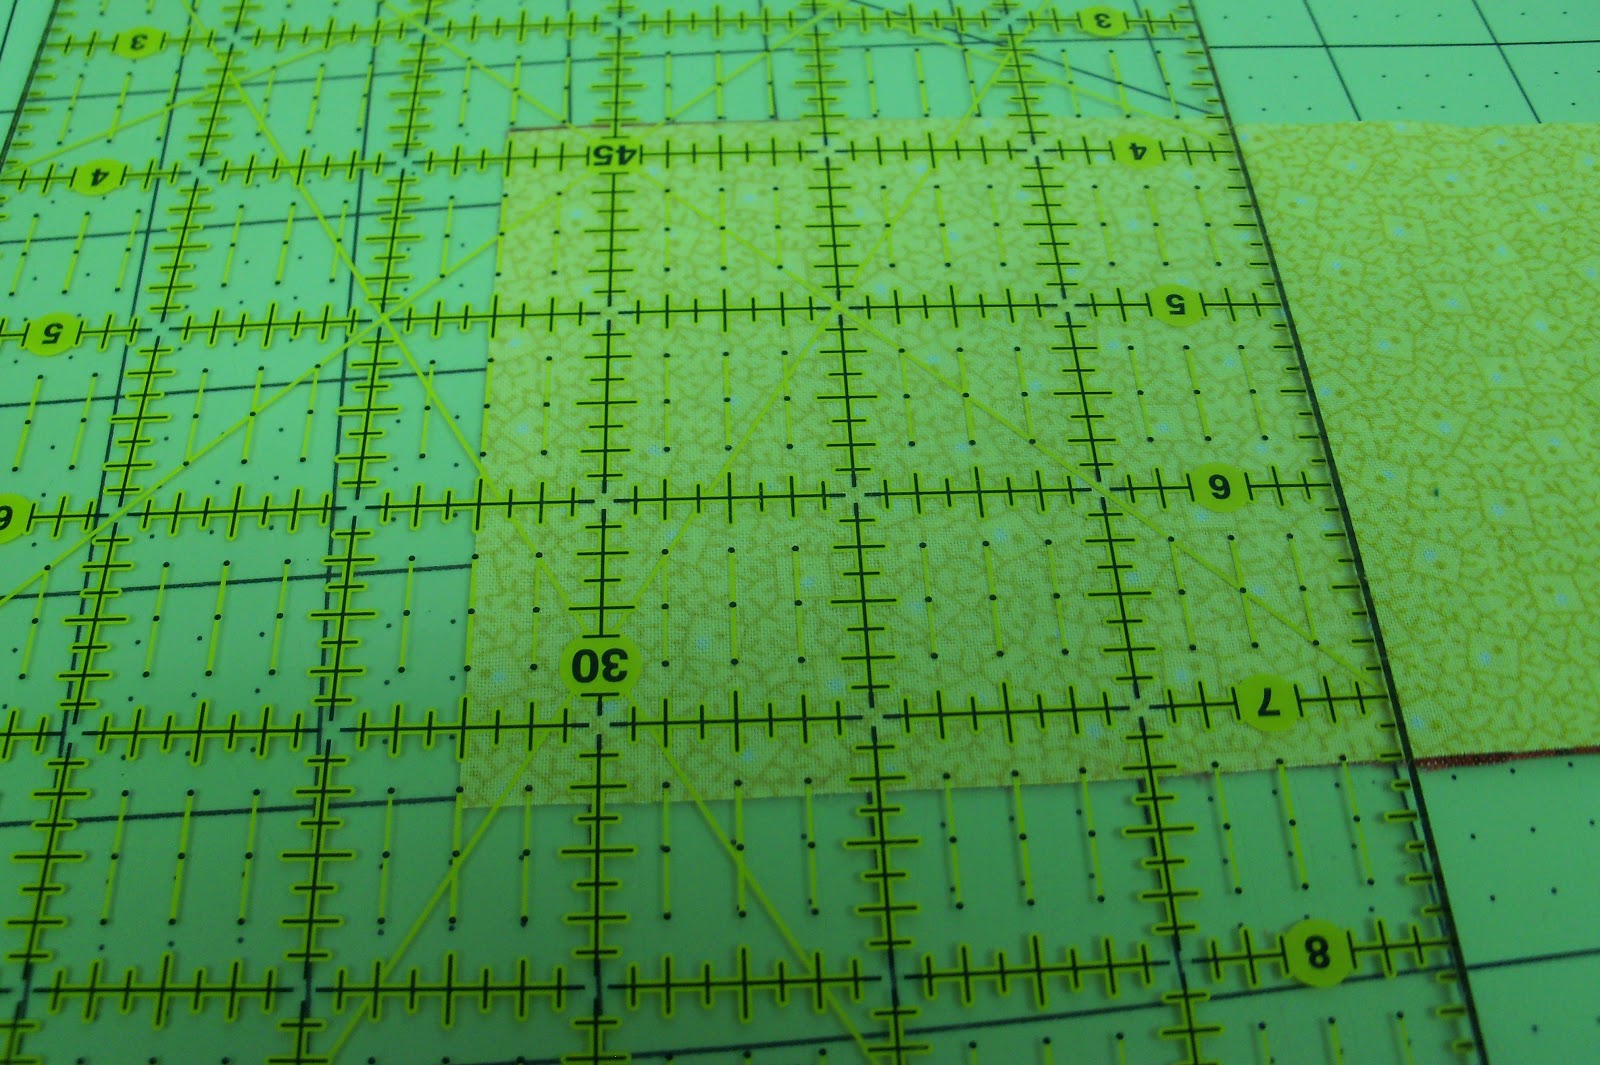
Cut a strip 3-1/2 inches wide.

From this strip, cut 3-1/2 inch squares.
Now, it's time for layout.......

Your block will look different depending on your color placement.

Once you've settled on the layout, let's get to sewing!
Starting with your first row. I usually start from the top row and work down, but whatever works for you.....bottom row up, left row over, right row over. Basically though, you will be sewing the squares of each row together. Then sewing each row to the next until all three rows are joined.
Place the first two squares of your first row right sides together and sew with a 1/4 inch seam. Open out these two squares and sew the last square of the row on (again using 1/4 inch seams). Repeat this process until you have all three rows sewn.

Press your seam allowances toward the dark colored fabric.


Place the rows right sides together. To line up the seams, put a pin into the stitching of the top row and out through the stitching of the bottom row. Then up from the stitching on the bottom and out through the stitching on the top. That will line up the stitching almost perfectly.

Sew the 1/4 inch seam. Repeat this process for the last row.

Open out your block and press.

That's it! Your done!
While it's still fresh in your mind, maybe you better make one or two more.....
No comments:
Post a Comment